Flame Effect
STEP 1: Create a new file at 72 dpi. Make a text box and type any text in thick font.

STEP 2: Go to layer menu and click on flatten image as shown in the figure.

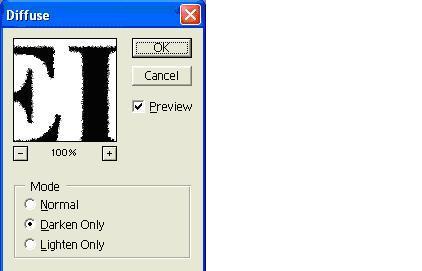
STEP 3: Diffuse the image by the steps as shown below. This step can be used any number of times to diffuse the figure, in this particular case it has been done 3 times.


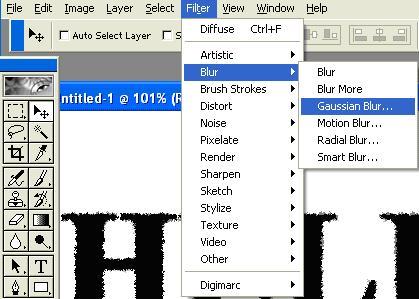
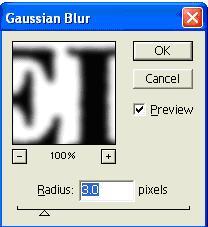
STEP 4: Now blur the image as shown in the figure below.
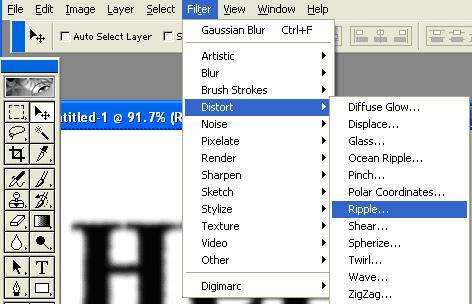
STEP 5: Again go to the filter menu and create ripples in the following text.


STEP 6: Go to mode and then indexed color as shown.
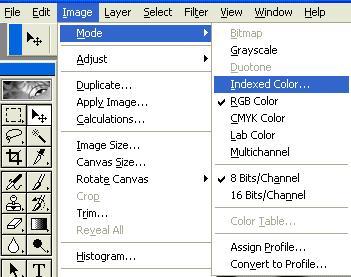


STEP 7: Finally go to Image in the file menu and then to the color table option as shown below.

Select “Black Body” option to get the following set of colors.
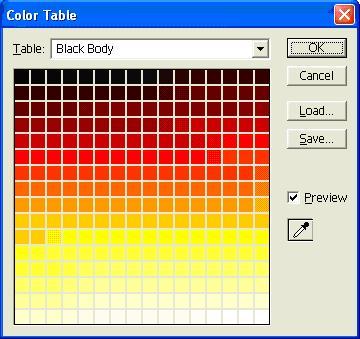
Select any color in the table to get the flame color

Note: Choose the other options in Table menu to get a different effect.


Comments - No Responses to “Flame Effect”
Sorry but comments are closed at this time.