How to Install Drupal
Drupal is one of the most popular web content management systems and content management frameworks, used to make building web sites more efficient than coding them from scratch. Drupal in particular offers a high degree of flexibility, allowing the web developer or webmaster to build almost any kind of web site, with any kind of functionality or design imaginable.
Installing Drupal is not hard, but you do need to have the following ready to start:
- A web hosting service including a database (typically MySQL), web server (typically Apache), and PHP. These are standard on the vast majority of paid web hosting services, and on some free ones.
- A domain name, if you want your new Drupal installation to be accessible publicly.
- FTP/SFTP client program such as Filezilla on Windows, Cyberduck on Mac, or just Dolphin or Nautilus file managers on Linux (both of which support SFTP).
Installing Drupal Step By Step
1. Download the latest version of Drupal from Drupal.org. If you’re doing this for the first time the latest version is probably the best choice. You have the option of a zip file or tar.gz. If you’re not sure just choose zip.
2. Unarchive the zip (or tar.gz) file you downloaded so you get a Drupal folder.
3. Open your (S)FTP client (as mentioned above), and connect to your web hosting server. You should get the connection information from your web hosting company, which usually involves a server address (like domain.com), and FTP port (usually 21) or SFTP port (usually 22), as well as your hosting server username and password.
4. Navigate to your public web directory, typically named something like public-http, http, or www, if you already are not in it.
5. Upload the contents of the Drupal folder you unarchived earlier to this directory. Don’t upload the folder itself as a whole, just what is inside of it.
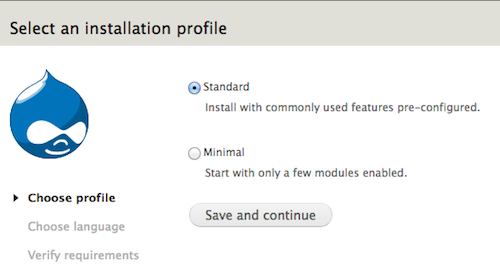
6. Once the upload finishes go to your web browser and enter the address of your host, such as domain.com. It will immediately start the install script and offer two options; Standard and Minimal. You can keep the Standard option, as it will probably be easiest to get started with.
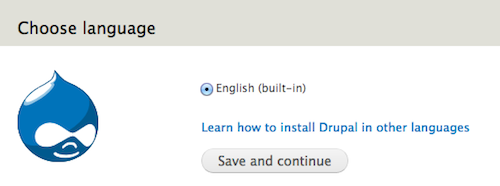
On the next page leave English as the language.
When you get to the Requirements page it will show a table with requirements that are met in green, and those that aren’t in gray with a red x sign. It will tell you what’s wrong.
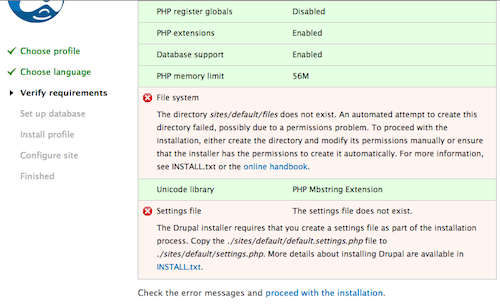
7. Create a new “files” folder in /sites/defaults/ directory of your public root, and make it writeable. How exactly you do this depends on the FTP program you use, but all of them support creating folders and changing permissions. You just need to add write permissions to everyone. 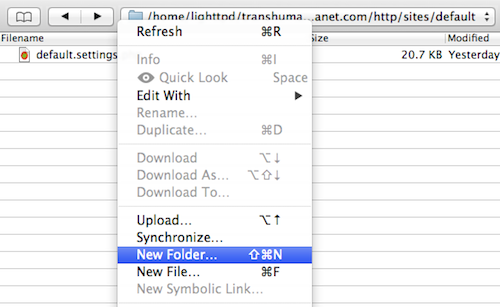
In Cyberduck on Mac the permissions settings look something like this, found by right clicking on a file or folder you want to change permissions to, and clicking “Info”, and then switching to a Permissions tab.
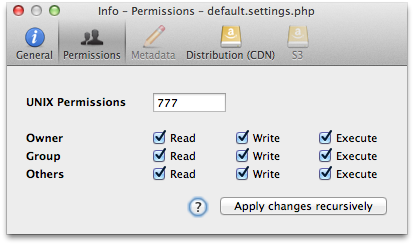
8. In /sites/defaults/ duplicate the default.settings.php file and rename it to settings.php, and make it writeable the same way as the above files folder.
9. When all requirements are met the installation will proceed to the next step, which is entering your database information. You’ll need a pre-existing database to install in, which can be created with your web host’s web interface. Your web host should have provided you with database login information. If your host offers a phpMyAdmin admin interface, for example, you can easily create a new database with it. Use your database login info to log in to it and find the “Create new database” field as shown below. Choose whichever name you wish for the new database. In this example it is just “drupal”.

10. Once you created your database, enter its name (the one you chose on the previous step), and the username and password you use to login to it, and click “Save and Continue”. Drupal will then set up the database tables.
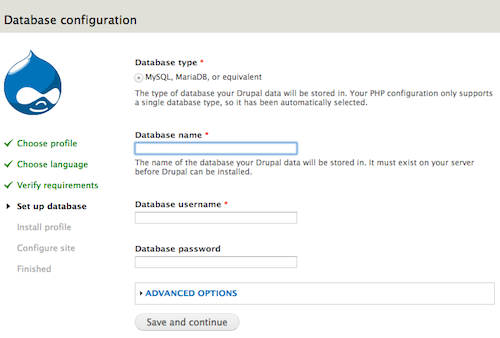
 11. Drupal should now warn you to remove write permissions from sites/default and sites/default/settings.php for security reasons because it has done writing changes to them. You can do this the same way you added permissions, but this time just deselect all the “write” permissions.
12. Once you do that you can fill out the final information about the site you intend to build with Drupal, from the site name, your email address, and your admin account username, email address, and password. You can also set the default country (optional), and time zone for the site. 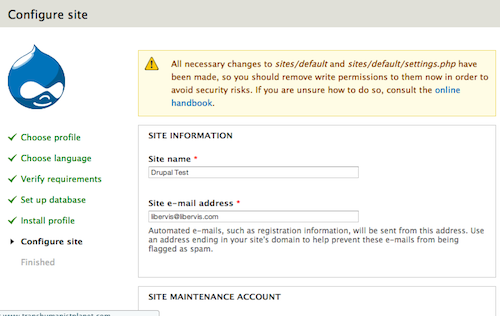
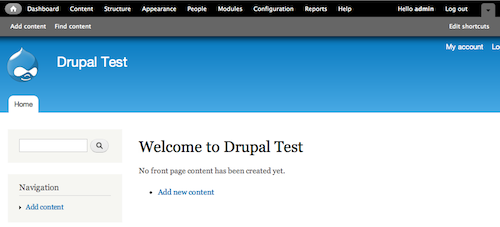
After this step is done your Drupal installation is complete and you can view and play with your new Drupal site. The top menu gives you access to all of the features and configuration options.
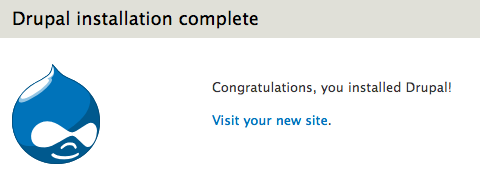
Drupal documentation can be helpful if you need any further information about configuring and running Drupal.


Comments - No Responses to “How to Install Drupal”
Sorry but comments are closed at this time.