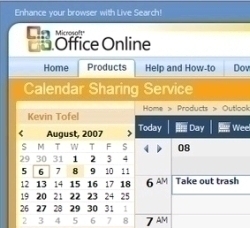
How to Share Your Calendar in Outlook
If you are using Microsoft Outlook 2003, you can give permissions for others to view your calendar. On the Calendar button, click Share My Calendar link. Then click on the Permissions tab. To the right of that you will see and Add button. Click the Add button. Add the name of the person who you want to be able to read your calendar. Then click OK. Now in the box in the middle, select the person you want to give permission to by clicking their name. This will highlight it. Then choose what type of permission you want to give them from the drop down box next to where it says “Roles”. Most people just choose “author”. Then click OK. Then check the boxes you want added. You can have it so then can add their own items or just read your items or both. You can have it so they can edit or delete items or both or neither one at all. It just depends on how much you want them to be able to do with your calendar. The extent of the activities also depends on the role you gave them. Author, for example, they can create and read items and modify and delete items you create. A reviewer means that they can only read the items.
Editor means they can create, read, modify, and delete all items and files. Publishing editor can create, read, modify, and delete all items. A contributor can create items and files only.
If you select the Private check box on a Calendar item, Outlook does not grant Read permission to your Calendar folder to anyone whom you do not want to see private items. A person who is granted Read permission to access your folders could use programmatic methods or other e-mail applications to view the details in a private item.


Comments - No Responses to “How to Share Your Calendar in Outlook”
Sorry but comments are closed at this time.